JMJ
Greetings! Welcome back! I’m trying to get better at posting smaller segments more frequently, so I spent a day or two sorting through photographs and video to get the story together. Here it is for your reading pleasure.
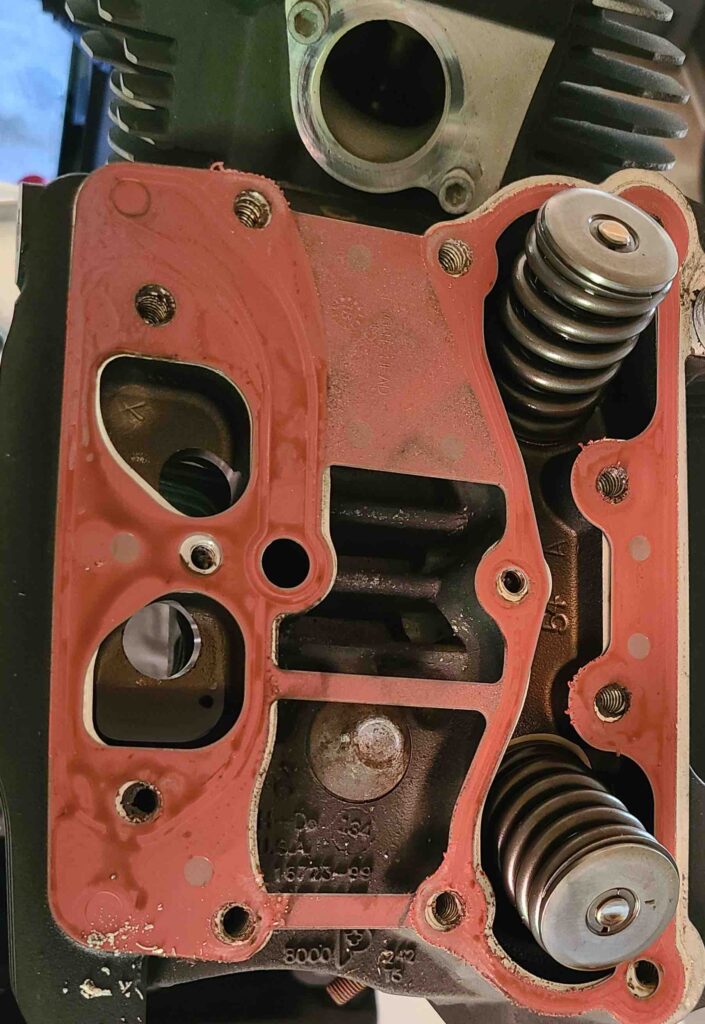
Picking things up from the last post (rocker box removal), the last stage in top end disassembly is removing the cylinder heads and cylinders. Starting from the gasket that one of the rocker boxes left on the cylinder head, we loosened the cylinder head bolts and removed the cylinders. As you will see in the video, there were a few minor surprises along the way.
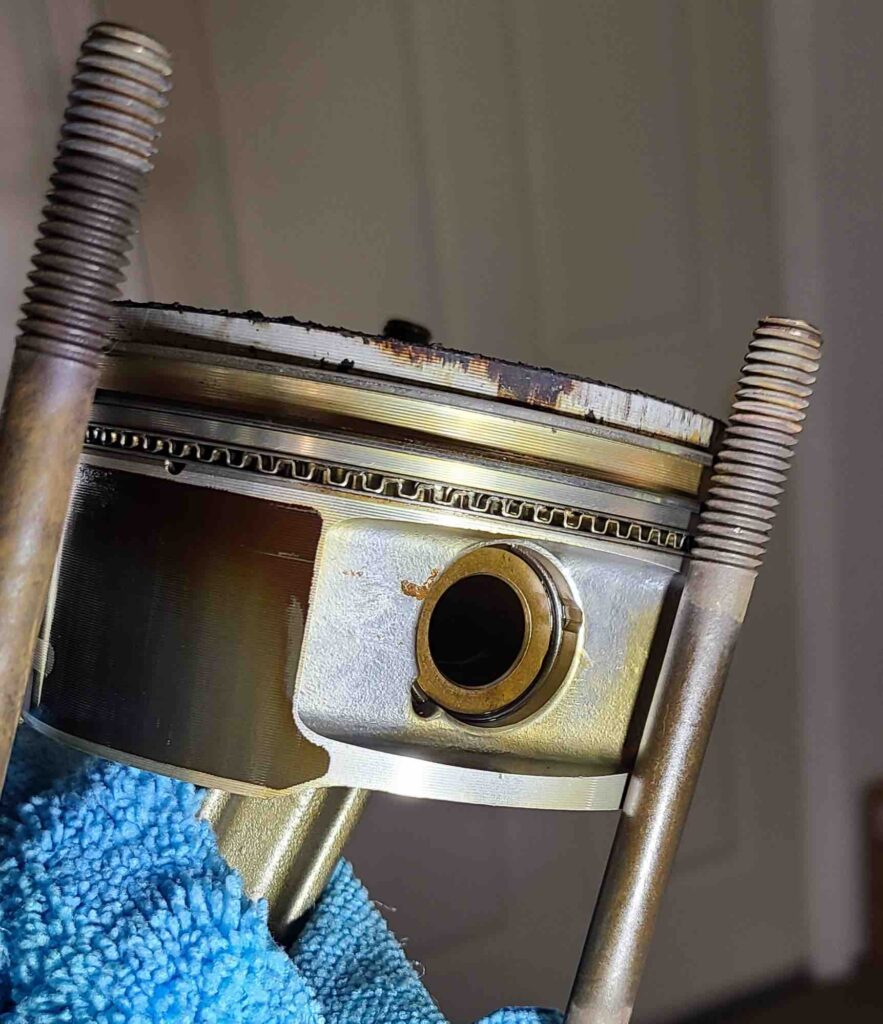
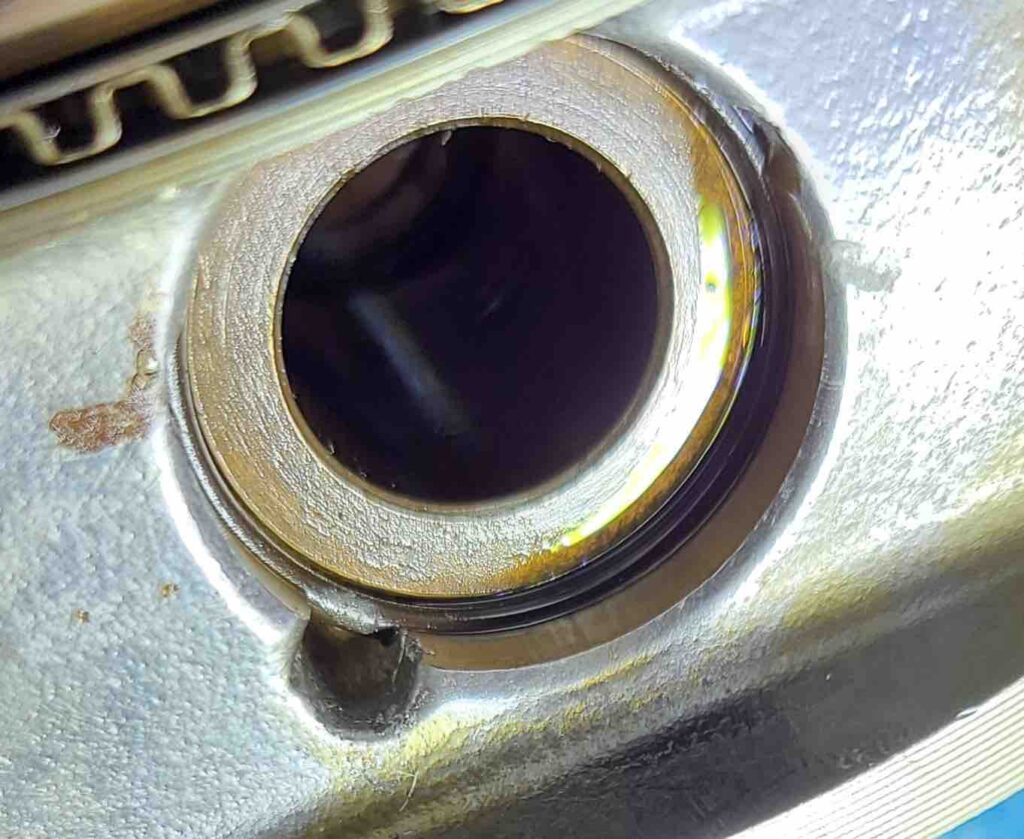
After removing the cylinders, the next step was to detach the pistons from the connecting rods. This requires extracting a circlip (piston pin retainer) from one end of the wrist pin (piston pin) and then pulling the wrist pin to free the piston. Each step requires a tool and we had both tools.
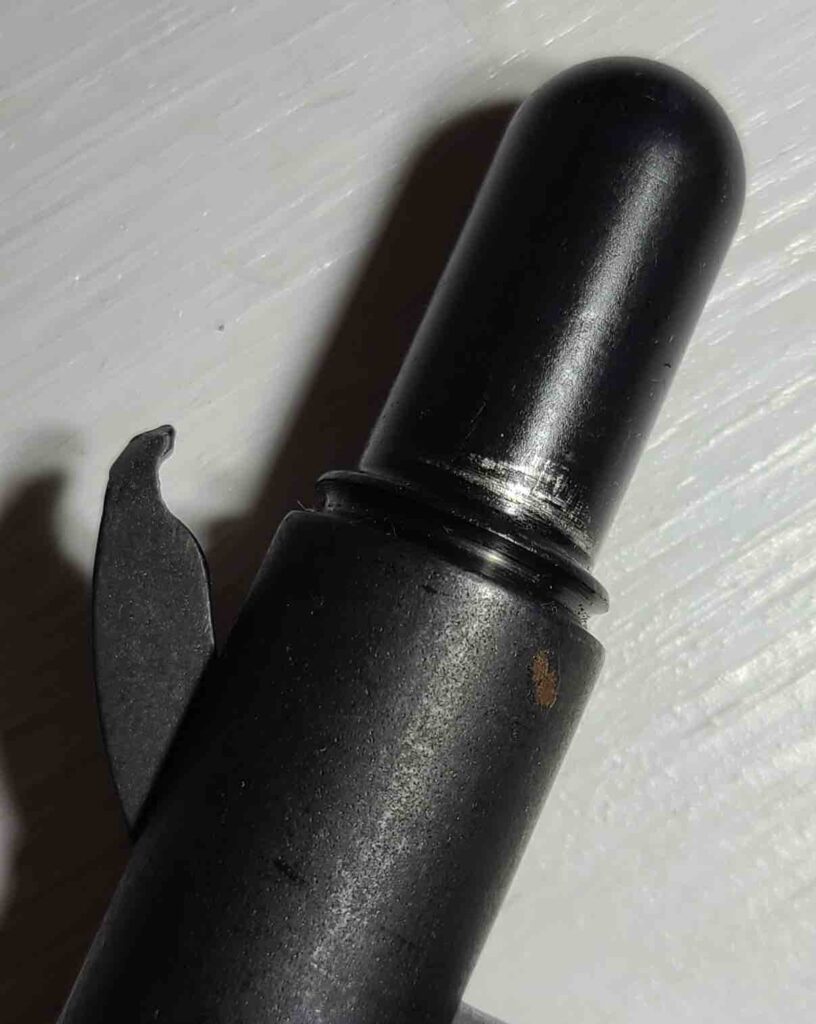
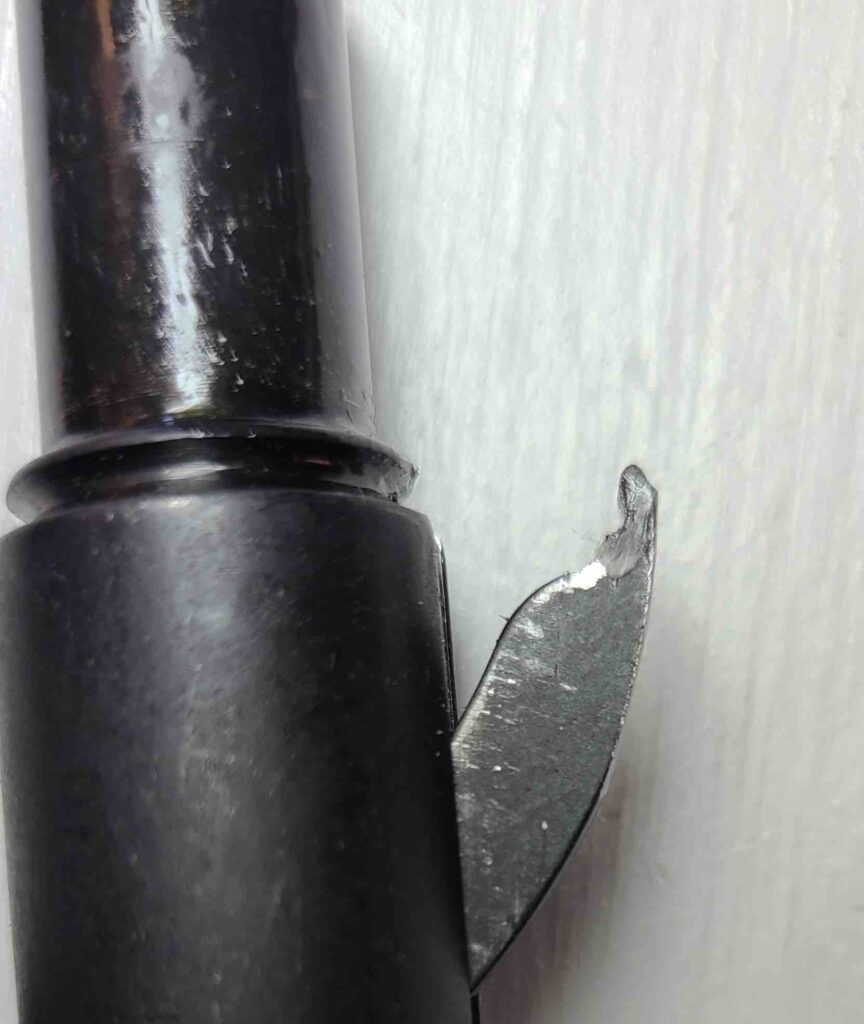
Extracting the circlips proved to be a bit tricky. The special tool essentially seats inside the wrist pin and a small claw compresses the circlip in its locking groove so it can then be pulled out. The tool was just a bit too large to engage the circlip, so I called the vendor and then the manufacturer. A big shout out to George at George’s Garage (https://www.georges-garage.com) and to Megan and Bob at Rotech, Inc. (search Rotech in Mayville, WI on facebook). With their guidance and a bit of judicious filing, the tool did exactly what it was supposed to do. Thank you!
With the circlips removed, the wrist pins were easy (with the special tool).
Finally, we wrapped both connecting rods with some sheet foam to keep them from banging against the edge of the crankcase where the cylinder seats.
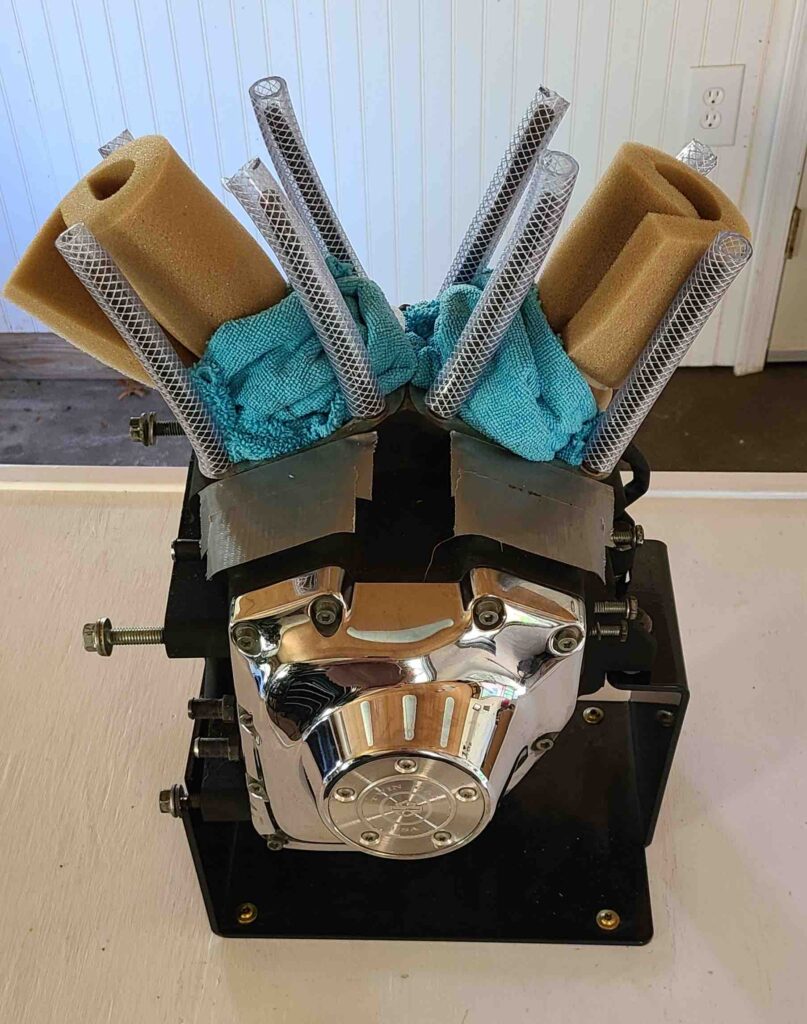
Next, we dive into the bottom end disassembly.
Cheers,
Howard
Pro-tip for cylinder head removal:
I had to do this on a Shovelhead I had ridden with a loose exhaust which burned the exhaust valve… use a nylon hammer and give the head a few horizontal raps; especially when you’re leaving the jugs on the motor.