JMJ
Greetings! Welcome back to the shop! Today, we get to the heart of the matter.
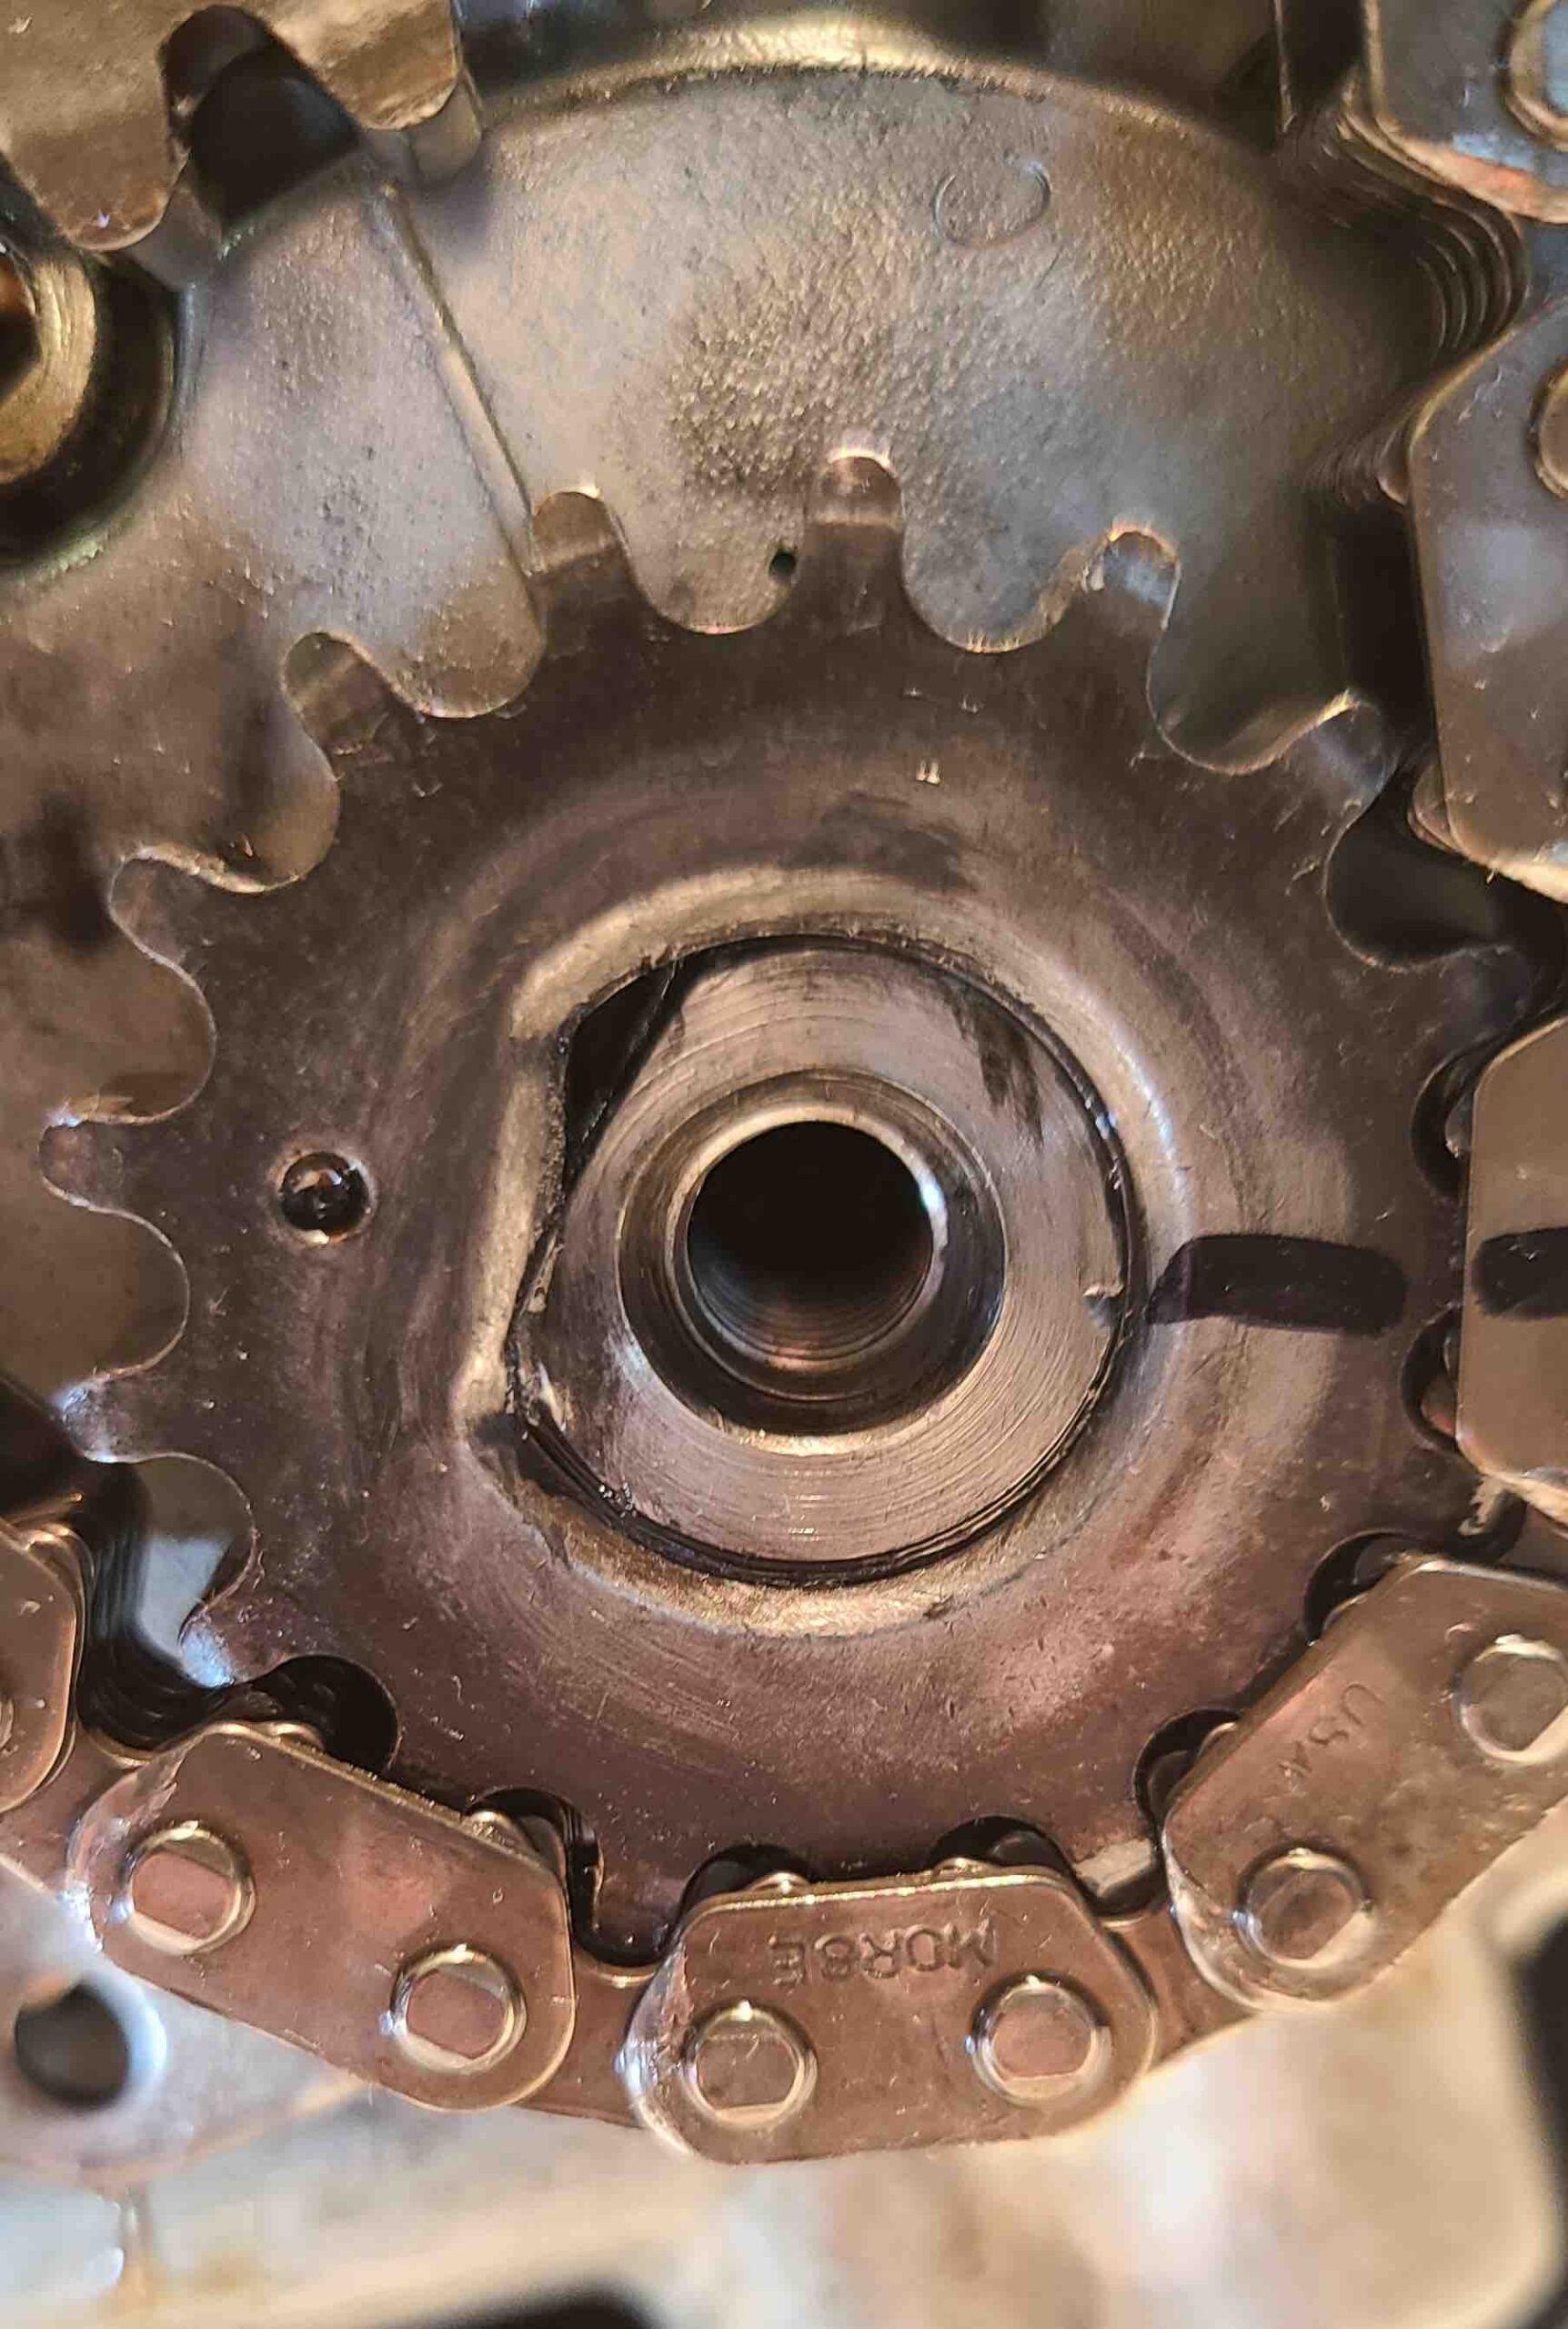
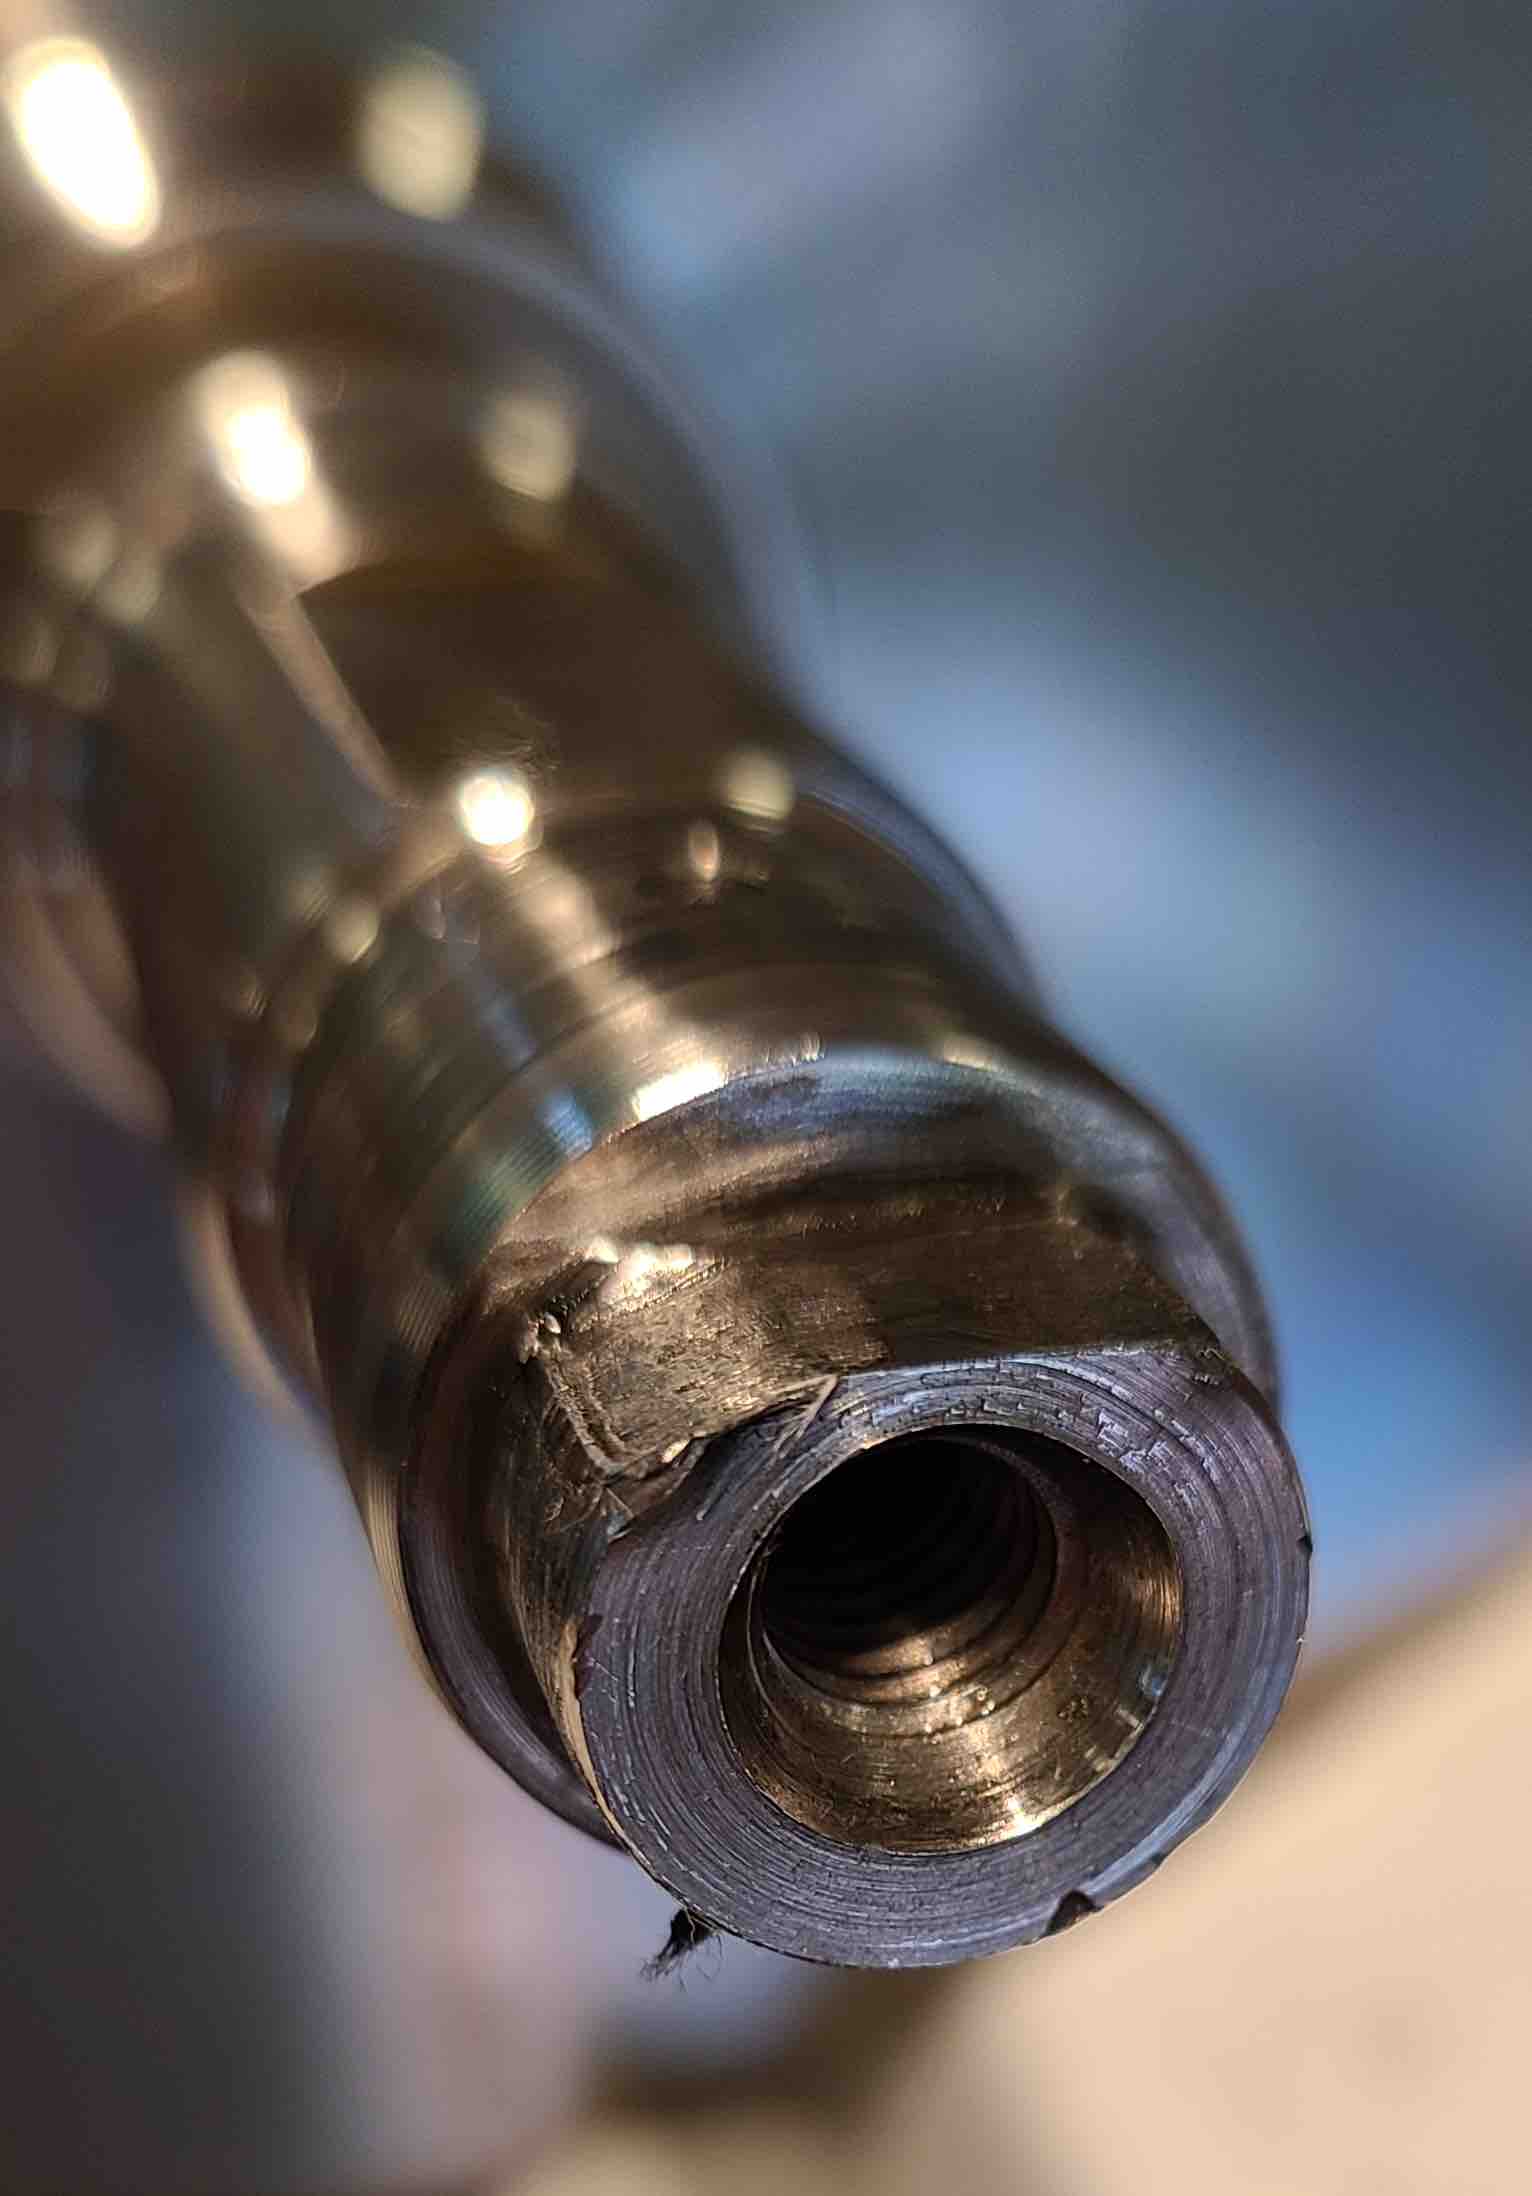
Having previously removed the cam cover, we got a first look into the crankcase. Now we tackle the cam chain. I started with the assumption that I would be reusing many of the components (sprockets, etc.). A major issue emerged shortly into the disassembly.
The net result of this procedure is serious concern about every single component, especially the crankshaft. I plan to talk to a machine shop about what repair might be possible.


With the cam chain out of the way, the cam support plate is ready to go.
Next step is to split the crankcase. In the meantime, I need to start pricing parts to inform the decisions that I will have to make in the near future. I also need to sort out how to effectively clean parts to ensure that no flecks of tensioner pad foul an oil channel and cause another failure in the future. A lot to think about.
In the meantime, a few new tools arrived. One is a larger micrometer (4-5 inch) with an anvil adapter set that will allow us to measure the pistons. Another is a small micrometer (0-1 inch) with a small bore gauge set for measuring bushings and rocker arm components. I also picked up a bore gauge to measure cylinders. Just need the torque plates to properly mount the various components for measurement. I love quality tools!
Cheers