JMJ
Greetings! Welcome back to the shop. We’ve made some progress on the engine, the shop, and tools since the last post, so here are the details.
The shop is now closed to the elements. Looking ahead to the day we reassemble the engine, it will help to be able to thoroughly clean the space and minimize foreign material that might foul close-tolerance parts. The garage bay opening now has French doors and two barn windows to provide as much natural light as possible. The French doors both function to create an opening large enough to get the motorcycle out of the shop when that time comes. One small removable panel provides a hole large enough to stage a shop fan to get some air moving – an important consideration until other arrangements can be made (e.g., air conditioner). The next shop improvement will be a dehumidifier. Ours is not a dry heat.
Several tools have arrived including a piston support plate, piston pin remover-installer, piston pin circlip remover-installer, piston ring compressor, and a cam chain sprocket locking tool (See Resources). I also picked up some assembly lube because the shopping bot reminded me while I was searching for the various tools. I find this both helpful and frightening at the same time. It is challenging to avoid spending too much on tools prematurely. The bottom end disassembly should be a major decision point. If it is just the cam chain tensioner and no other damage, then we’ll continue to acquire the tools needed to measure and rework subassemblies. The section on valve work lists quite a few special tools, and measuring bore diameter may require another.
Not to get ahead of ourselves, but the Hop-Up & Rebuild Manual (Remus, 2017) floated to the top of the stack. Each time I see the cover, I wonder if I will simply rebuild to stock or invest in some performance upgrades while the engine is out and in pieces. The possibilities are enticing.
Speaking of manuals, I have found that the Harley-Davidson Service Manual (2004 Harley – Davidson Service Manual – Touring Models – P/N99483-04A (2004 Touring 1450-Cc 5-Speed Models), 2003) is the best of the lot for the work that we’re doing. The service manual provides details that the other manuals do not, including an occasional hint or tip to make a task go a little smoother. I also found that the procedural flow through the various stages was much more logical. The other manuals aren’t bad, but the service manual is markedly better. In particular, The Clymer manual (Scott, 2005) has proven valuable for the listing of tools and sources.
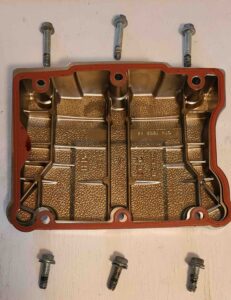
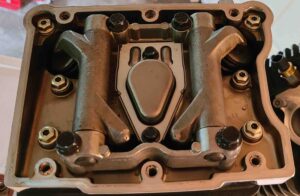
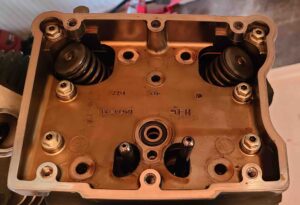
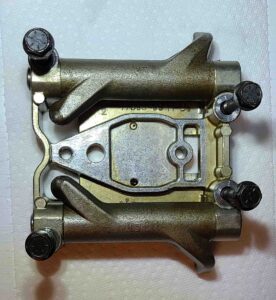
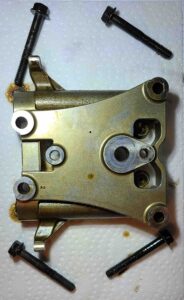
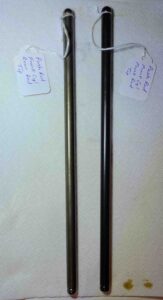
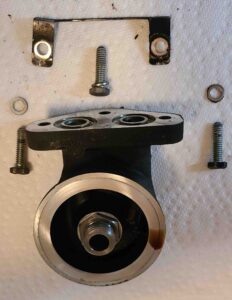
So, the top end disassembly is nearing completion. The rocker box and various internal components came off easily and things looked really good inside. I labeled everything including the orientation of the pushrods and the bolts according to their original positions. The service manual hints were basically intended to keep mated surfaces together for reassembly. This should minimize excessive wear and premature failure that would occur if the wear surfaces were to be mixed up. For example, each pushrod is already broken in to its particular lifter and rocker arm. Some photos from the process are included below.
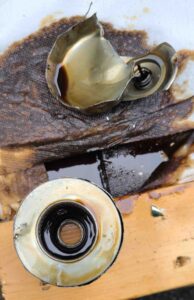
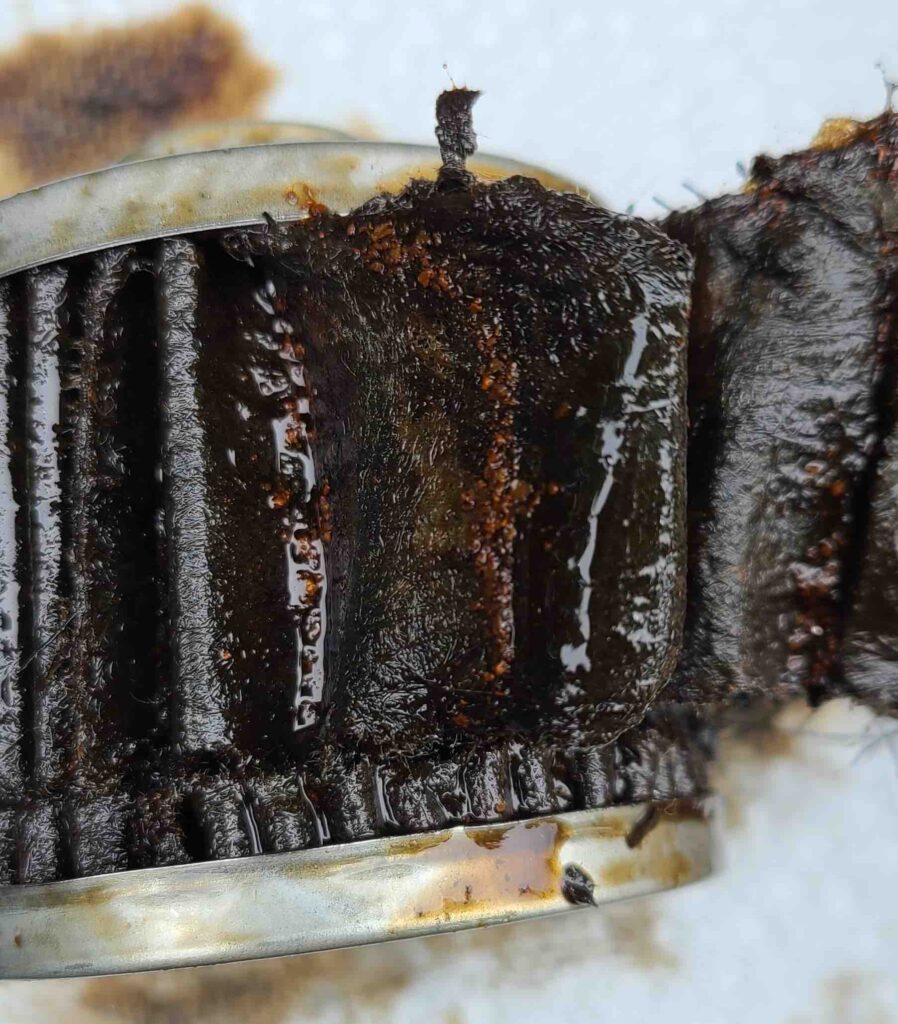
As an aside, I opened up the oil filter to take look. That turned out to be a messy and non-trivial task. I wanted to make a nice slice around the circumference of the filter to access the filter media, but there was a lot of residual oil that made it challenging. In the end, I used two pairs of locking pliers to tear the casing apart. Not pretty, but functional. The media had debris in every fold similar to the flecks found in the oil pan and the oil. Fortunately, I didn’t find much else of interest in the media, so there’s that. See photos below.
Cheers,
Howard