JMJ
Greetings! Welcome back to the shop! The last few days have been busy, so let’s get to it.
After removing the exhaust system, the main work was identifying and disconnecting the various wires and hoses still attached to the engine. This included the breather hose, oil hoses, voltage regulator, stator cable, crankshaft position sensor, oil pressure sender, and horn.
The breather hose connects the crankcase to the oil tank at the fill neck. It was easy enough to find, and the clamps came free with a bit of persuasion, but the hose was very stiff. Instead of tucking it out of the way behind the transmission-to-engine flange, I completely removed it and added that part number (HD-45808-02) and two hose clamps (HD-10249) to the shopping list.
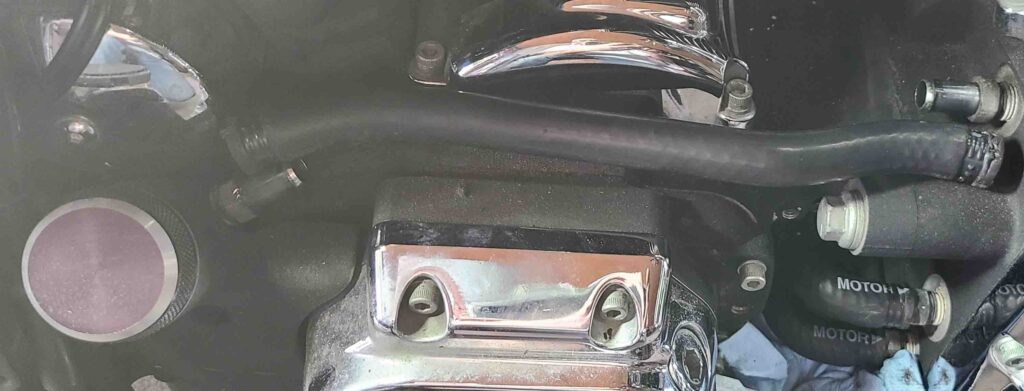
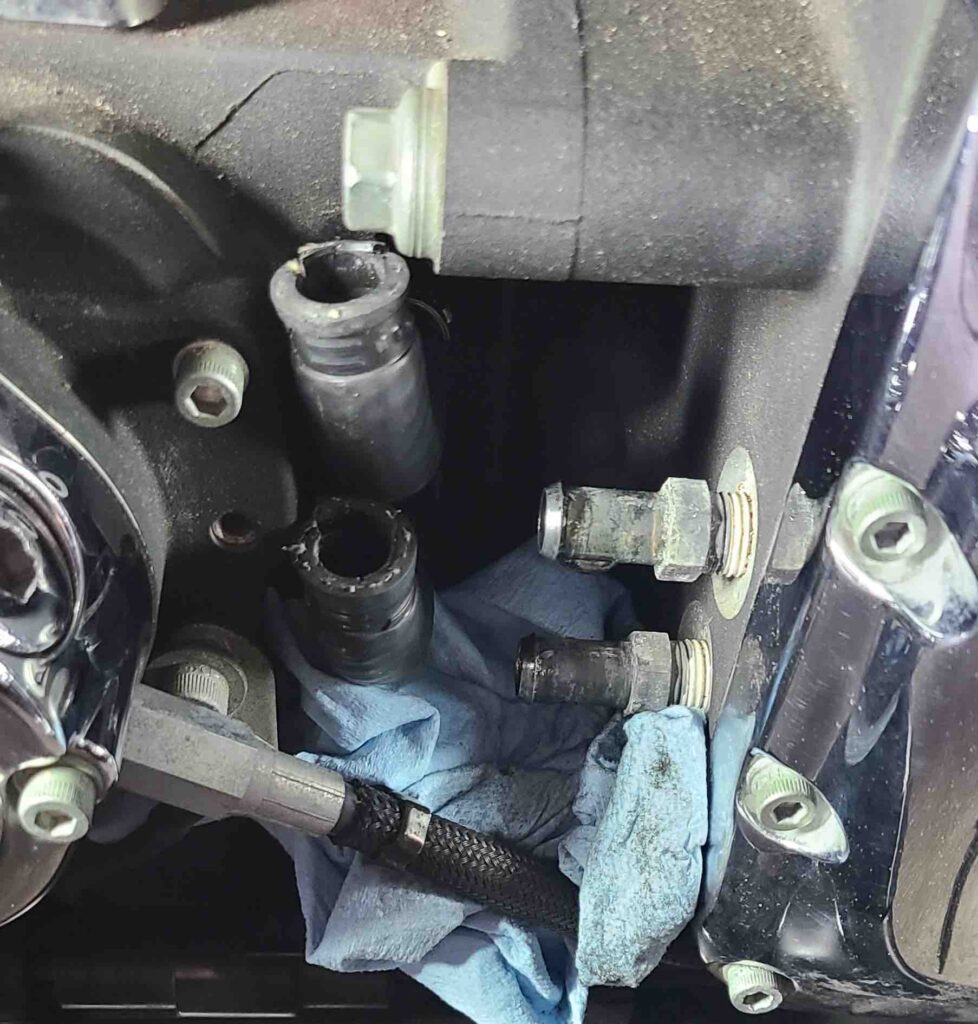
The oil hoses (HD-62726-99) were split a bit at the crankcase fittings. I don’t know if they come like that (doubtful) or if someone needed a bit of relief to make the fit. While the hoses look new and are still supple, they will also be replaced. And four more clamps.
The voltage regulator had its own section in the service manual for removal. The figures were very helpful for tracing out the wires to find the connectors and the ring terminal to which the text referred.

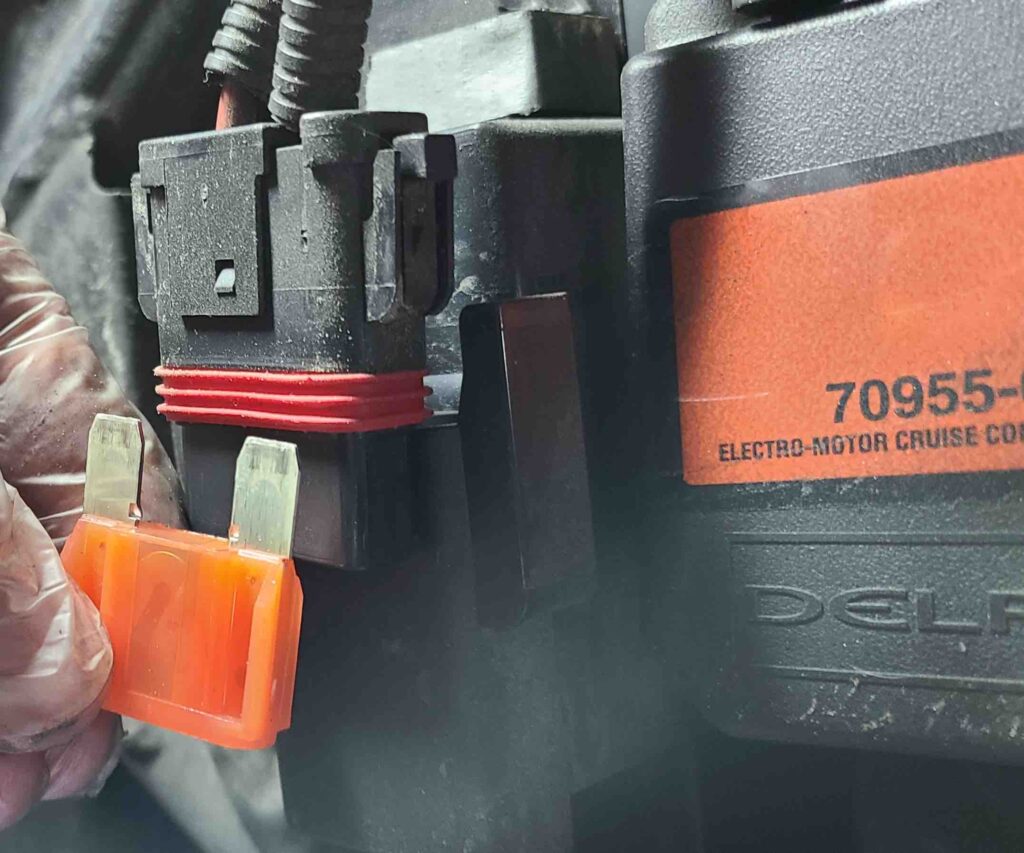
The stator connector uses a tongue-and-groove arrangement to mount to the bottom of the voltage regulator. A small cable tie prevents the connector from sliding off the mount. Again, the diagram was very helpful.

Once free, the service manual called for removing the connector and conduit from the stator cables. I fussed with the connector for a bit, then read ahead to see if I could postpone this procedure until stator removal. I could, and I did. Postpone.
The remaining sensors and connectors came off easily and are tagged and stored. I had purchased a 1-1/16 inch open end crow foot to remove the oil pressure sender as recommended in the service manual. I think that a simple wrench of the correct size would have worked as well. I’m not sure why the manual called for the crow foot.
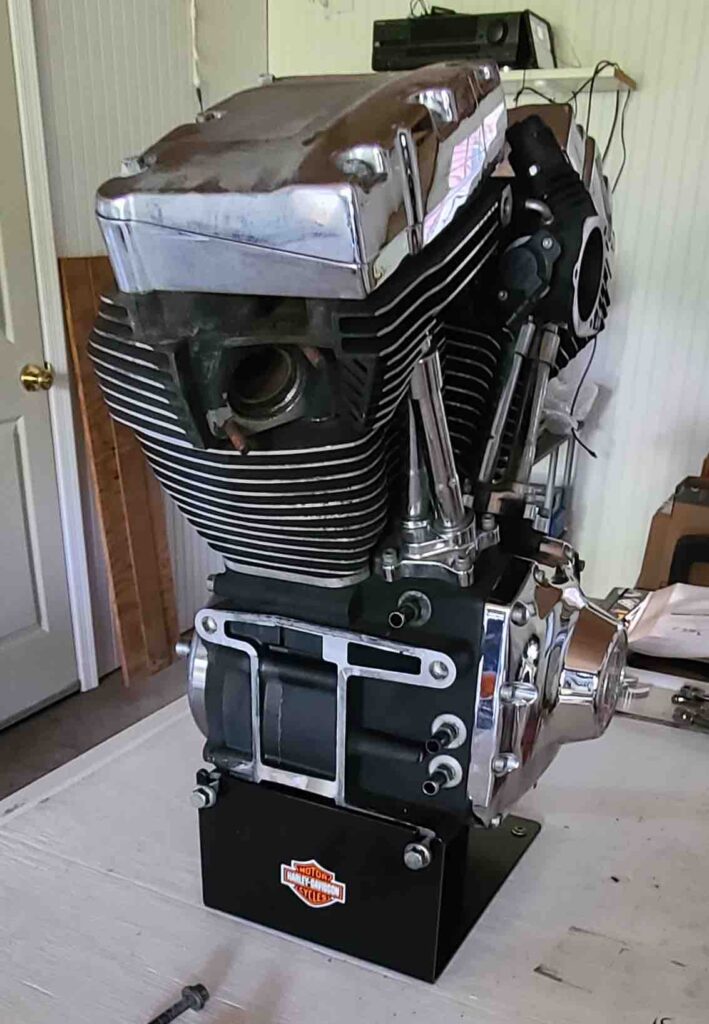
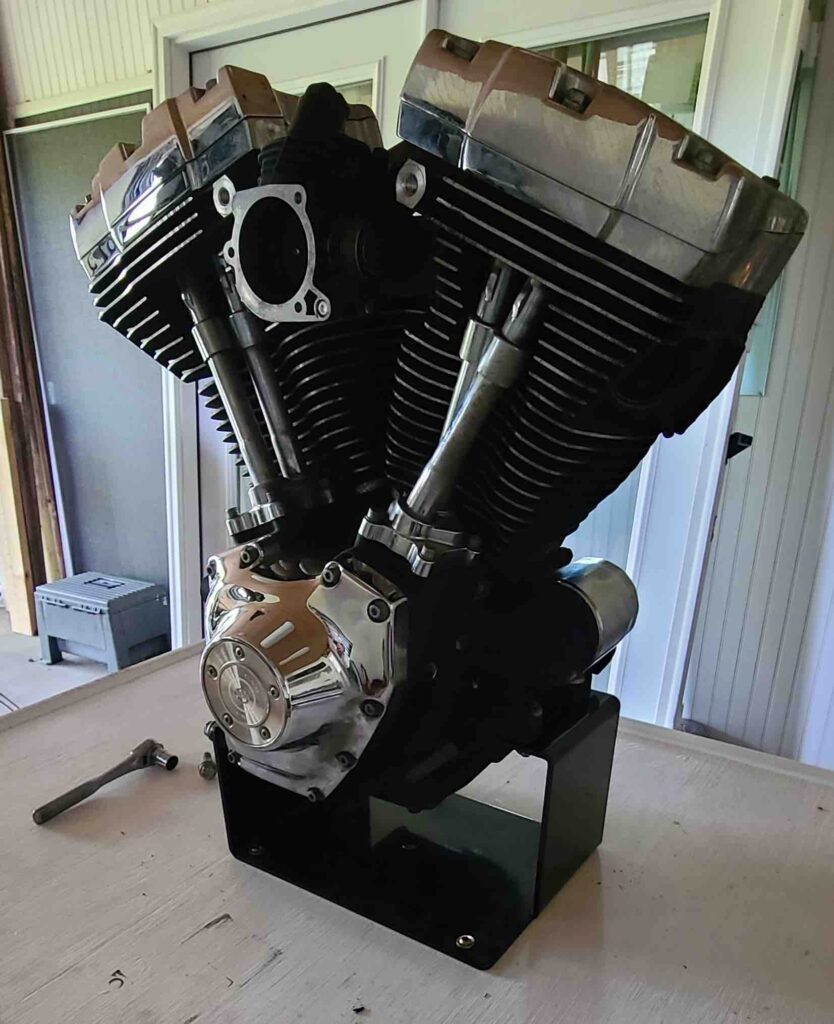
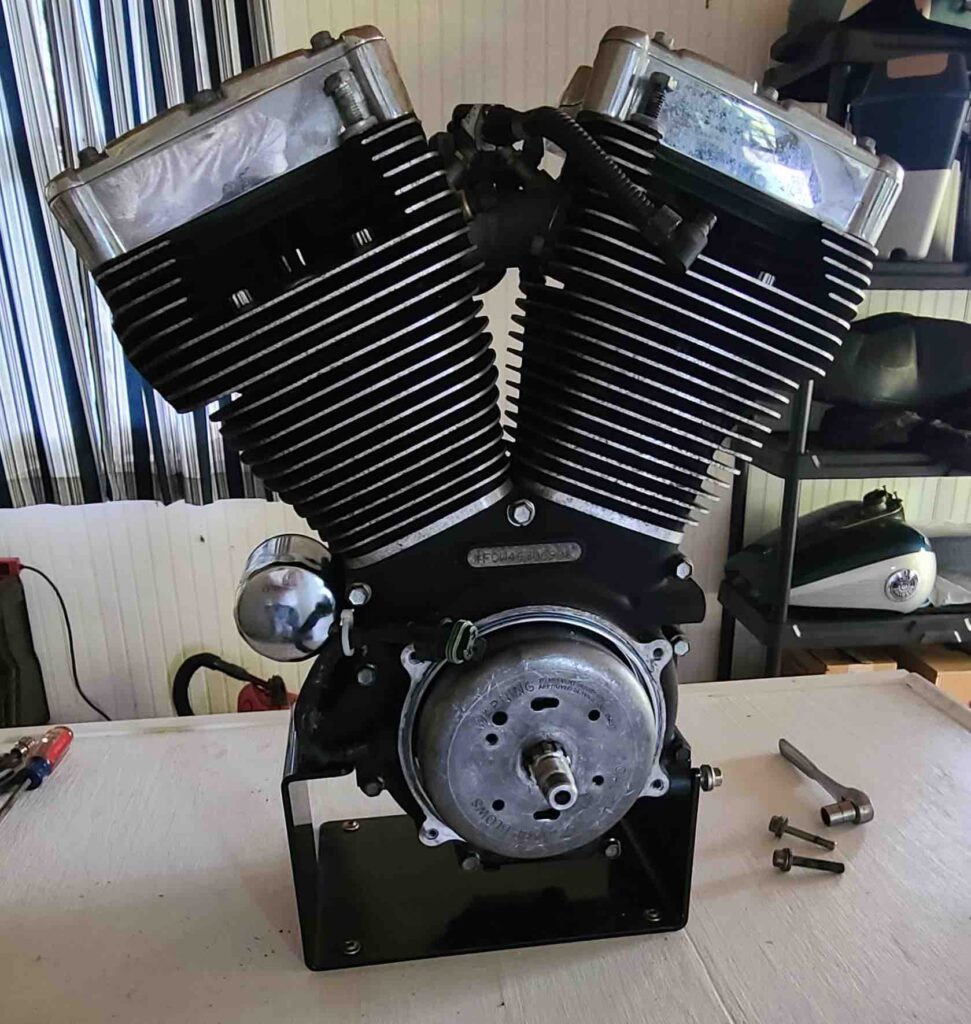
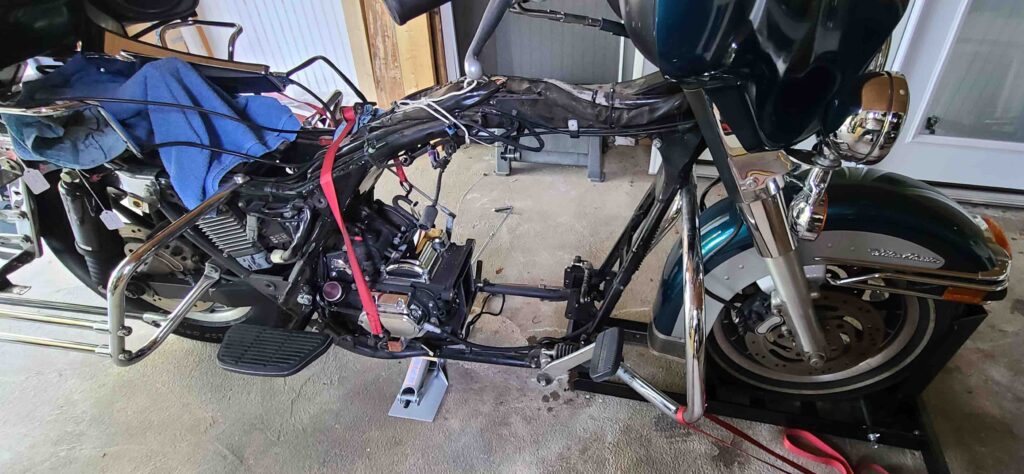
Recent deliveries to the house provided the foam padding and bubble wrap to protect the frame tubes, brake line, brake reservoir, and rocker covers. The short video below shows the engine being removed from the frame to the engine stand on the bench.
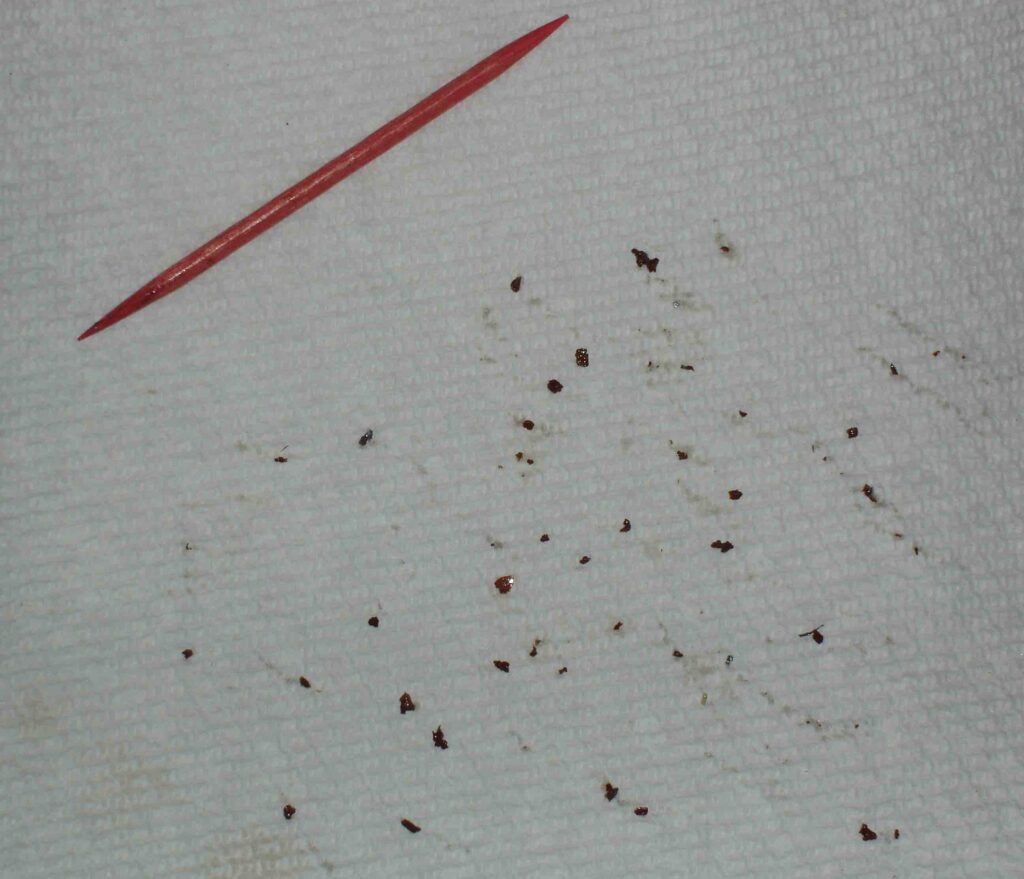
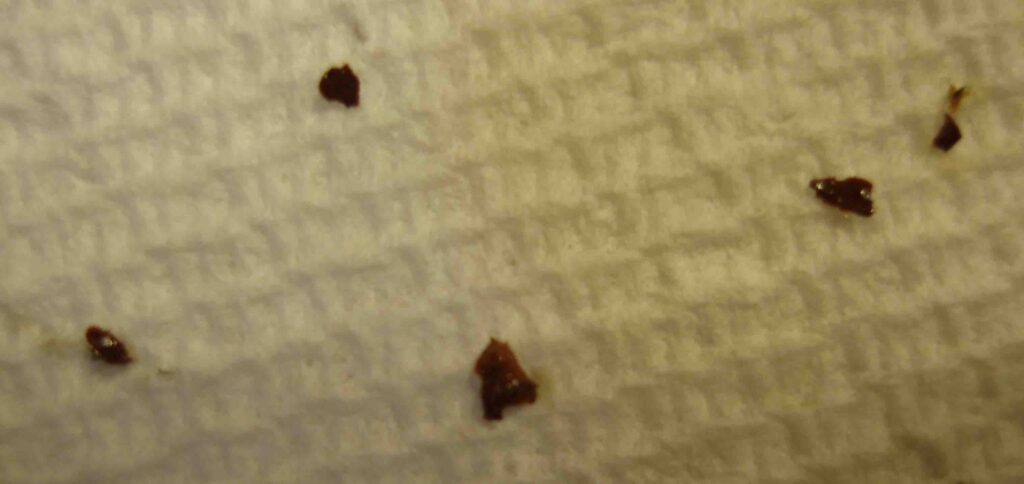
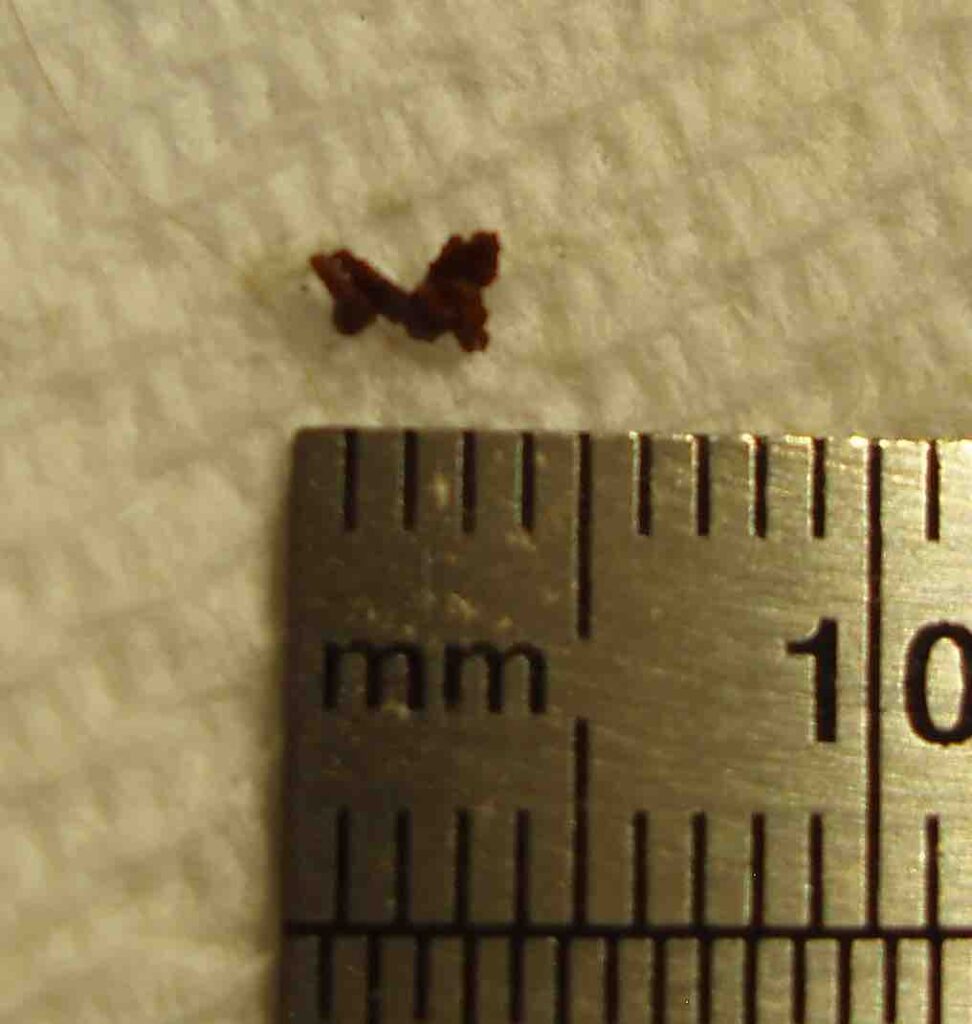
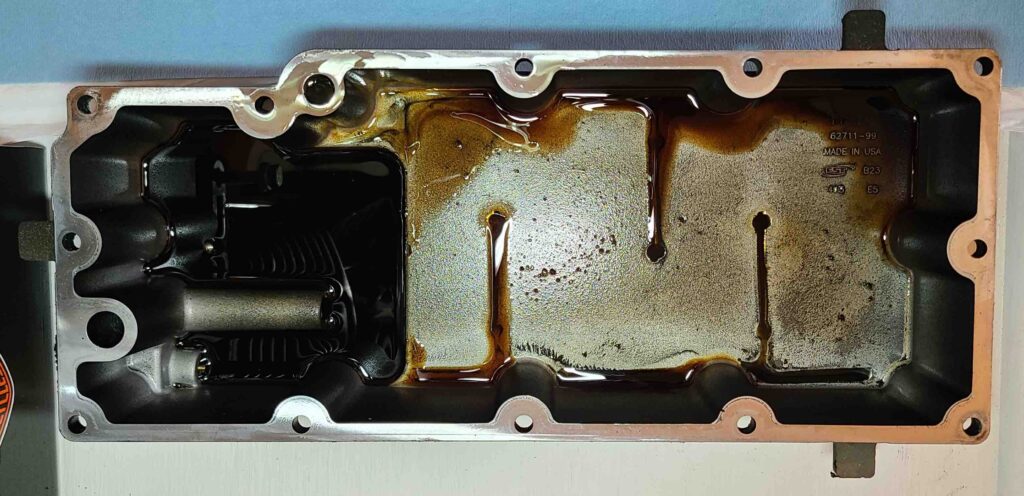
The last major task to this point was removing and inspecting the oil pan. Having previously drained the engine oil, there wasn’t much left. The transmission oil was clean and bright. The oil pan had some debris, but not as much as I expected. I am taking this as good news.
Next steps include removing the induction module, the alternator rotor and stator, and beginning Top End Disassembly. To remove the rocker arm support plate, both lifters on the cylinder being serviced must be on the base circle (or lowest position) of the cam. Says so in the manual. This effectively unloads the valve train to avoid damage to rods, bushings, etc. The funny part is rotating the engine to achieve the correct cam position.
The service manual lists three methods depending on whether the primary cover is installed, the primary cover is removed, or the engine is mounted in an engine stand. The manual explicitly cautions against putting a socket on the crank or primary cam sprocket flange bolt. Bad things can happen. Since we’re on the engine stand, the procedure is well-defined – you make a special tool by welding a used or discarded compensating sprocket shaft extension to a 13/16 inch socket as shown in the figure in the manual. I love it! No one I called had any shaft extensions to sacrifice, but I did find one on ebay. This may be one of the easier special tools to acquire. It looks like several other will be necessary to manage circlips, piston pins, piston rings, etc.
I think I’ll take some time to thoroughly clean the engine before disassembly. My photos to date have revealed a lot of dirt and grime. Embarrassing, really. I will also read through all the manuals to make a plan. All things that can be done with a choice beverage close by.
Cheers!
