JMJ
And, we’re back! Welcome to the shop! After a brief hiatus to pour some concrete, we’re ready to set a door and some windows to enclose the garage bay. This will help keep the pollen down in the workspace, give a dehumidifier a fighting chance, and, perhaps, allow for a small window air conditioner. Workshop or man-cave, you decide. Is there really a difference?
After carefully checking the weather forecast, I judiciously selected the hottest, most humid day so far in this year to resume the engine removal. I was breaking a serious sweat just reading the manuals. All three are in general agreement, but the service manual had some extra tips that helped.
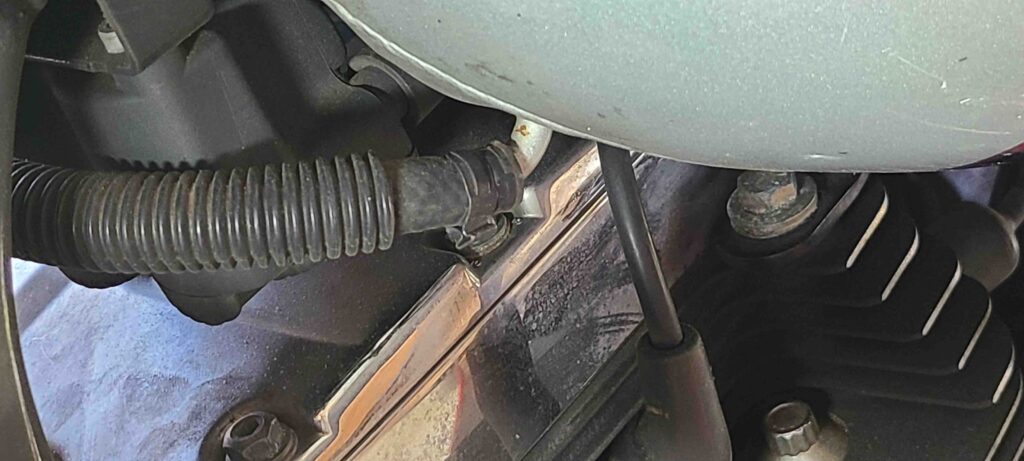
I started by siphoning as much fuel from the tank as possible. The next steps in the fuel tank removal procedure called for 5/16 inch inner diameter tubing. Of course, I couldn’t find the bits and pieces of fuel line that I’ve collected over the years, so I bought a three-foot section to get on with the job. (I found the other pieces of fuel line when I finished this task and went to put things away.) I prepared a short section of hose with a bolt plug and hose clamp as recommended in the manual. I then used a male-male hose coupling from the siphoning rig to manage the fuel that would flow from the cross-over line when separated from the tank. That tip came from Steve Housden with SIK Baggers (Housden, 2022, 9:14). Several YouTube videos showed the mechanic clamping the cross-over line (Housden, 2022, 6.56) despite the caution in the service manual against clamping or kinking this line. The cross-over line has a rigid inner lining that will be damaged if clamped. I suppose it doesn’t matter if you’re going to replace the cross-over line, but we’ll stick to the manual here. While disconnecting the fuel supply line from the tank to the engine, I found that the pressure had indeed bled off as mentioned in our previous post. Hence, the title of this post.

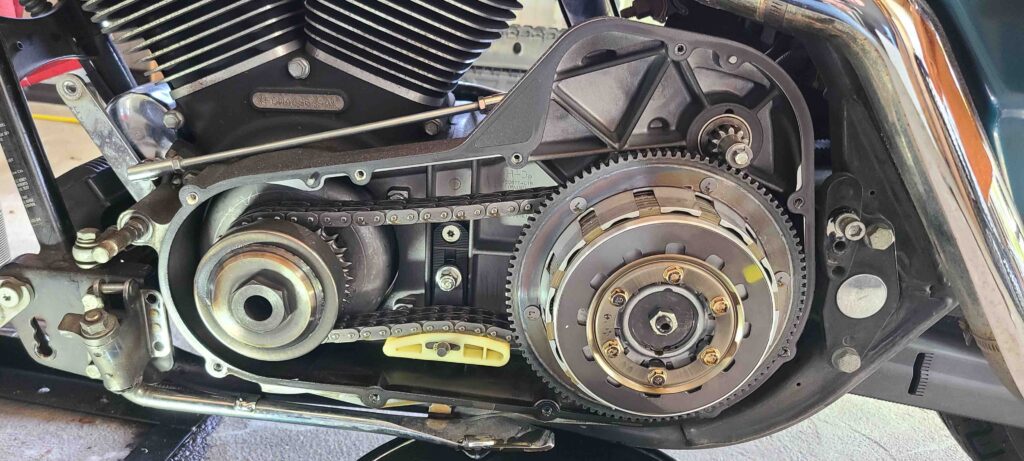
The oil from the primary chaincase was clean. As the picture below shows, everything appears normal. The chain tensioner wear pad shows a bit of wear and will likely need to be replaced. The primary chain locking tool should arrive soon and we will continue the removal process. (Note: The tool has arrived and is listed in the resources.)

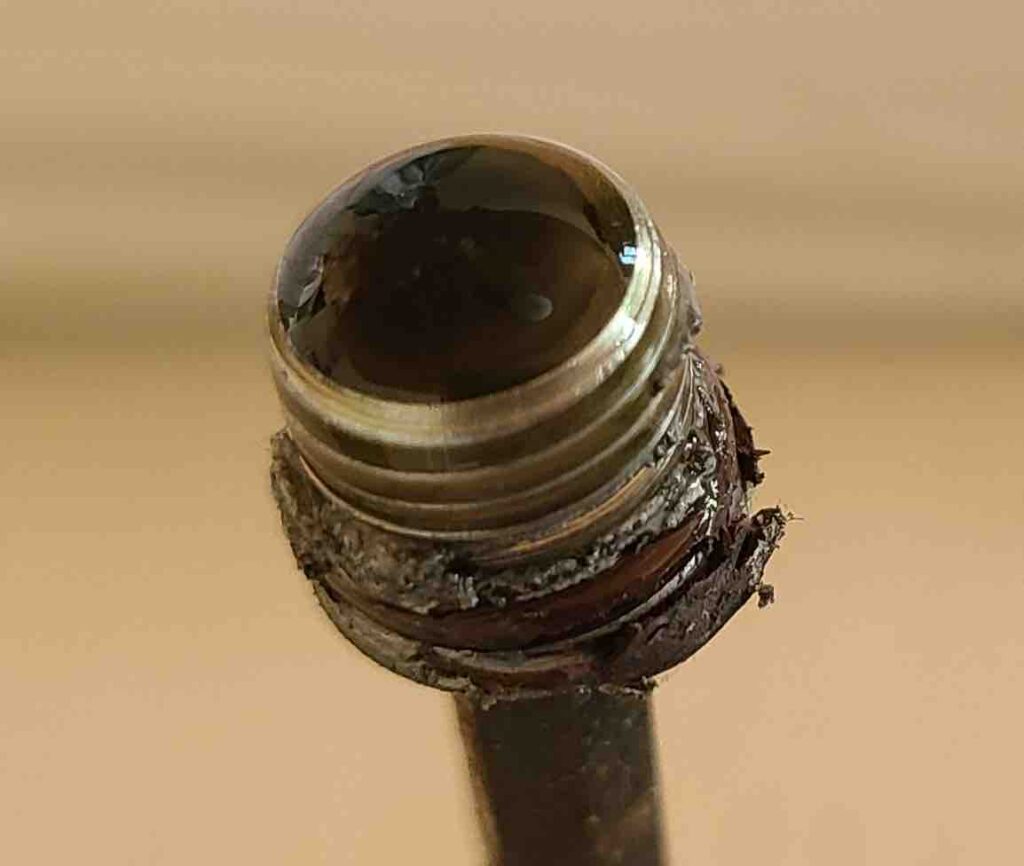
A few notes in closing. Like the engine oil drain plug, I found bits and pieces of what appears to be thread tape on the primary oil drain plug. I wasn’t expecting that with an o-ring on the plug, but I guess the last service technician felt it necessary.

The Harley-Davidson special tool (HD-41771 ROTOR REMOVER/INSTALLER and SHAFT PROTECTOR SLEEVE) for pulling the rotor from the high-output alternator is scarce. The one listed on ebay did not show the protective sleeve and was very pricey. The new one offered at Jan Willem Boon (Boon, n.d.) was reasonably priced, but they don’t ship overseas. That site also showed a JIMS equivalent tool (Jims Alternator Rotor Puller Big Twin 16-1054) that shows up as out-of-stock on several websites. While writing this post, I found one that appeared to be in stock, but, alas, no. I guess we will have to make one. If all goes well, I will post a drawing with dimensions and such for posterity’s sake. We all need options, right?
Cheers!