JMJ
Greetings! Welcome back! Today, we’re removing exhaust, finishing the removal of the primary chain case, and pulling various connector and cables.
The primary chain case removal stalled a bit when I couldn’t quite get a good bite on the Allen screw mounting the starter. I decided to wait until the exhaust system was out of the way to get a straighter engagement of the tool to the screw. I am really trying to avoid stripping out bolts and screws on removal.
The exhaust system removal basically involves pulling the heat shields, removing the supports, loosening clamps, and un-mounting the headers. Despite the corrosion that had formed on the various high temperature components, the process only took a bit of P B Blaster penetrating oil. The removal process takes the exhaust system off in major assemblies with the header and mufflers left intact. This reduces the expense of replacing the TORCA clamps. Having never seen a TORCA clamp before, I took a couple of photos.
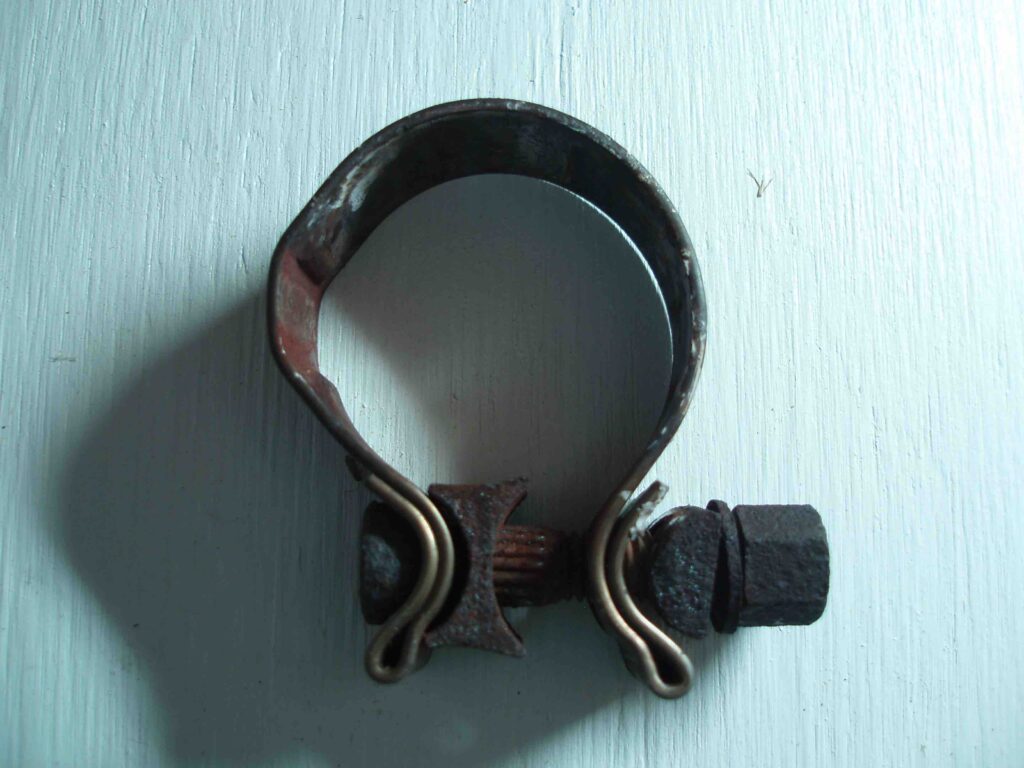
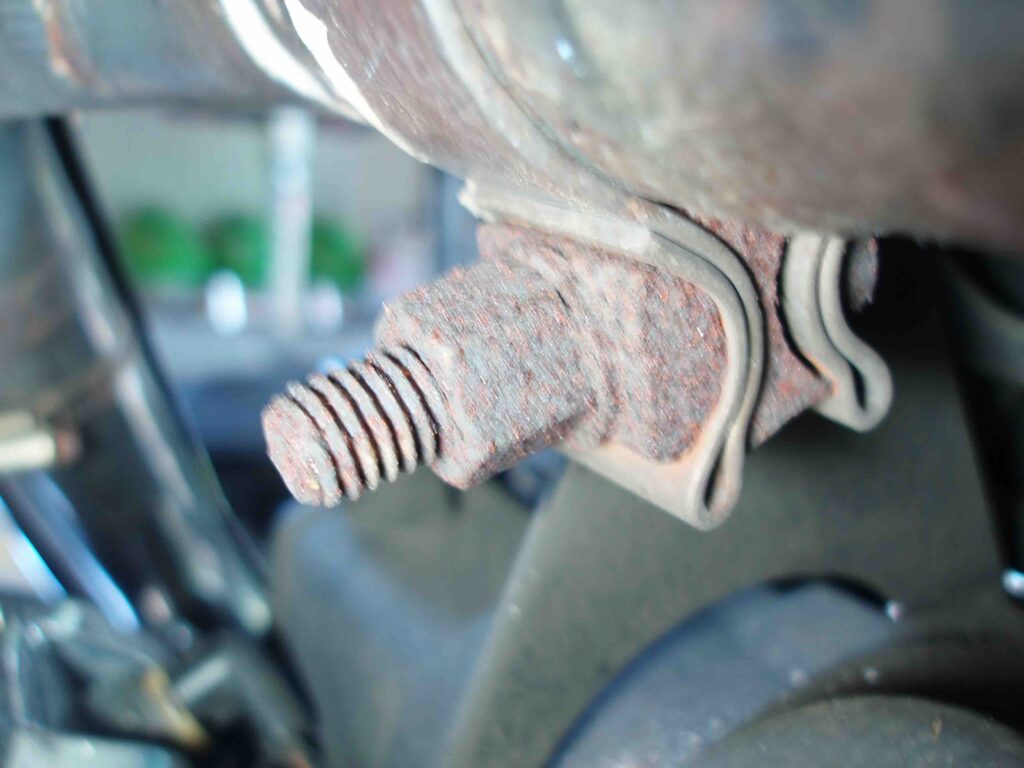
With the exhaust out of the way, the primary chain case removal proceeded very smoothly. I looked ahead to the torquing sequence for the chain case bolts and loosened them in reverse order of tightening on installation. I am trying to leave bolts and screws in place (i.e., lightly threaded into the fastener) to avoid having a box full of nuts and bolts to sort through when the time comes to re-assemble.
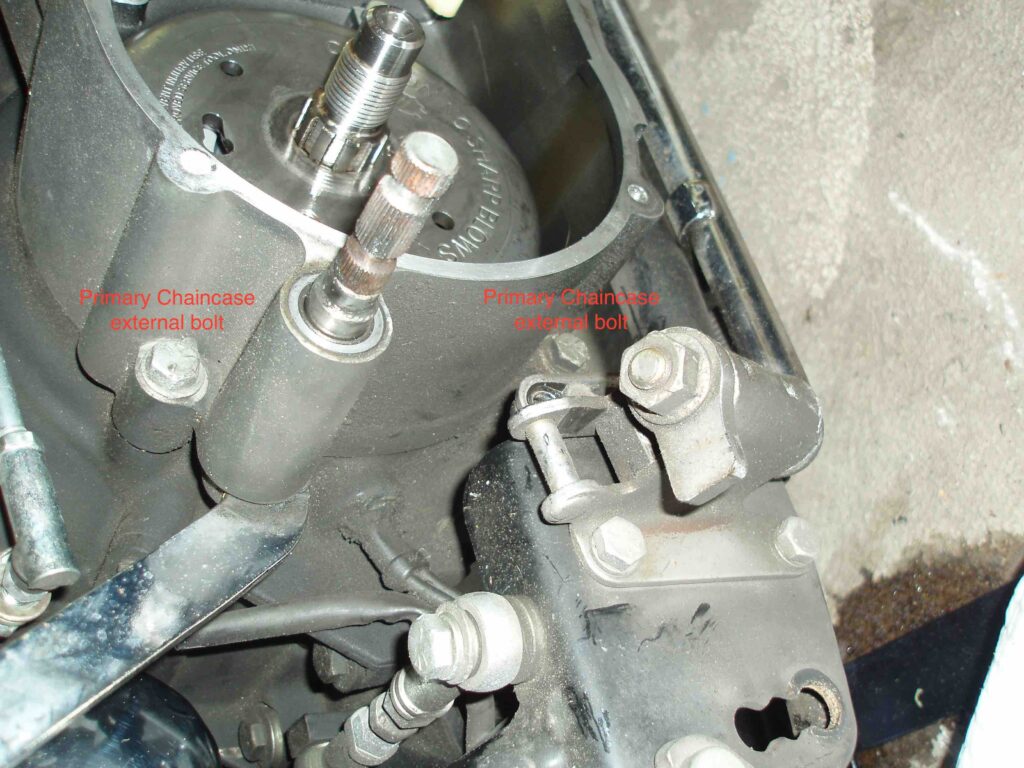
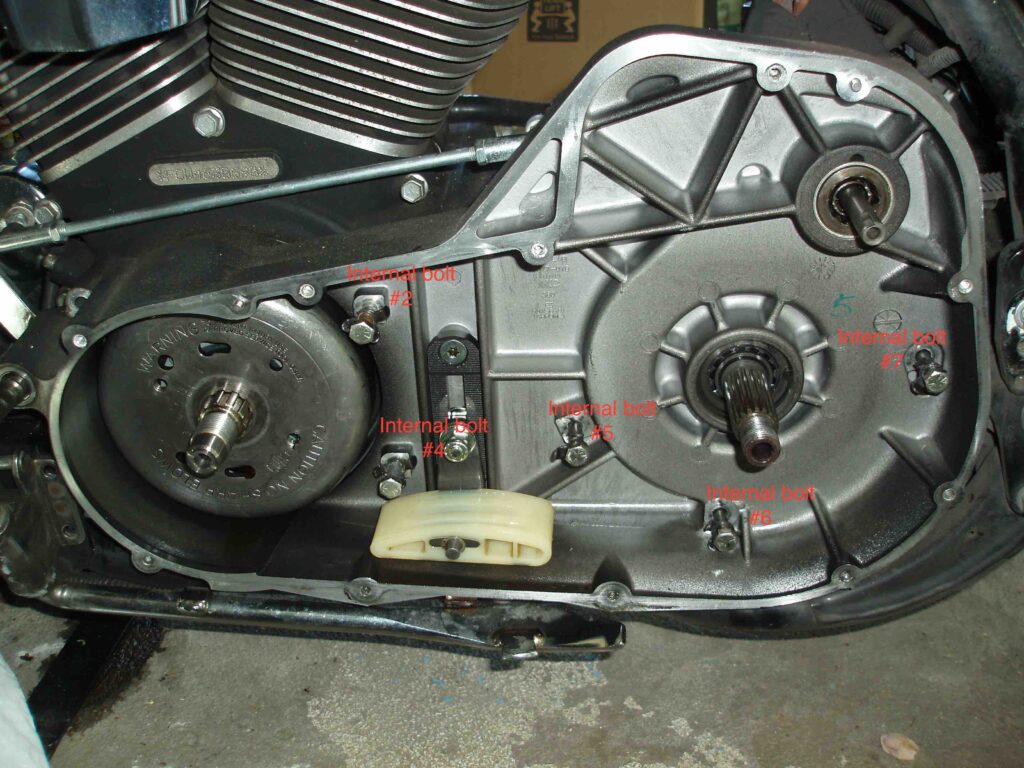
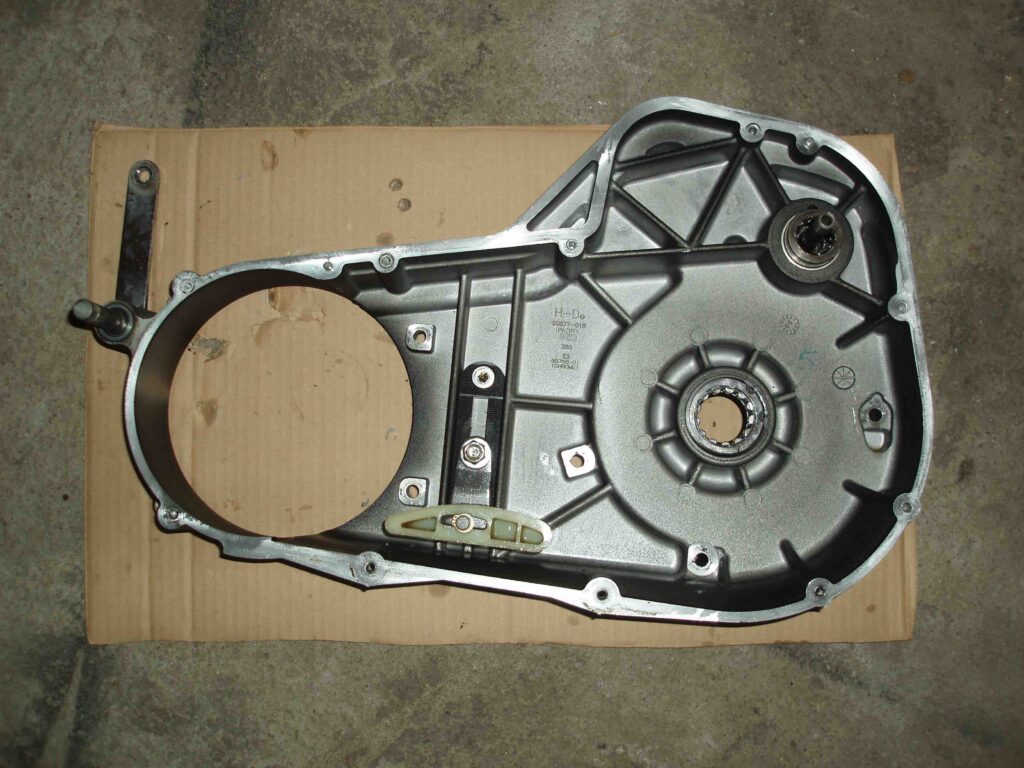
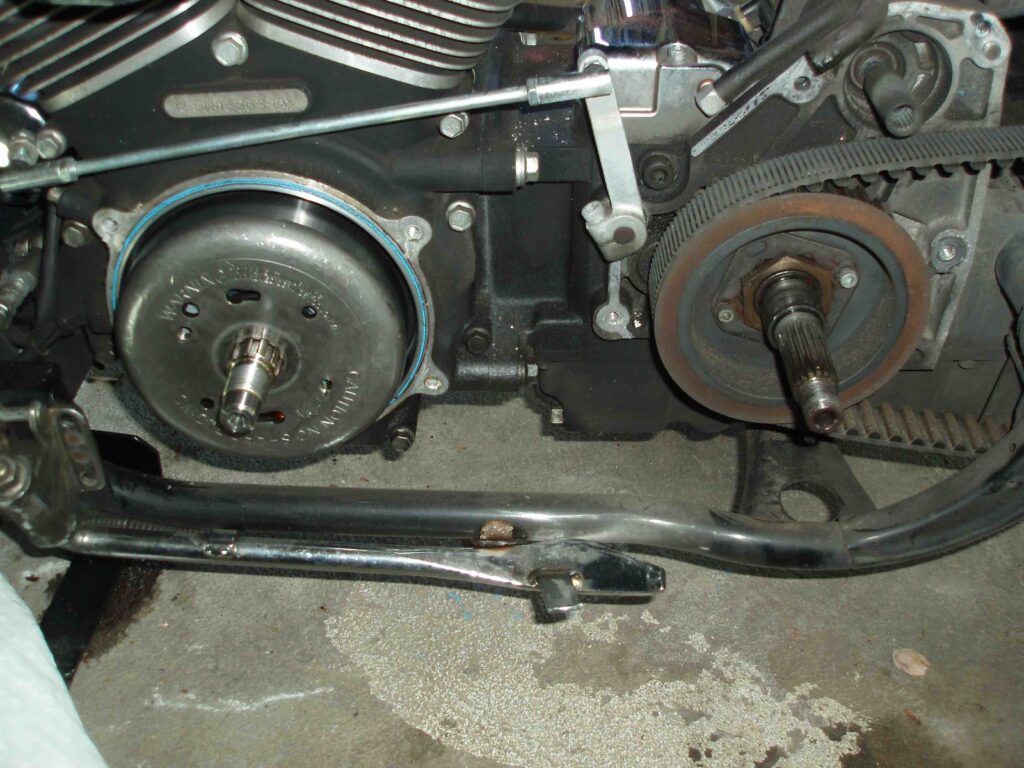
I also purchased a bunch of small tie-on tags to label the components as I removed them. I tagged each piece with the page number, step number, and name of the item before putting it away for re-assembly. As I was working on the right-hand side of the motorcycle, I noticed a connector floating near the rear fender and wondered where it belonged. In time, it came to me that this was the fuel tank harness connector that had been removed when the tank was removed. I tagged it and freed up a few memory cells for other tasks. Tag as you go. I am also making notes in my service manual about the size of wrenches, sockets, etc. that are used to accomplish each step.
The various connectors around the throttle body were a pain to sort out, but all are free now. Fortunately, the connectors appear to be color-coded, so the photographs that I took along the way should help with reassembly. Of note, the throttle cables were a pain to remove. I did eventually get them free, but will likely replace both cables as a result of the kinks I put in the cables while trying to remove them.
I stopped with the removal of the “oil hose cover”. The service manual gave a clue by specifying that the cover had two Allen screws holding it in place. Photos below.
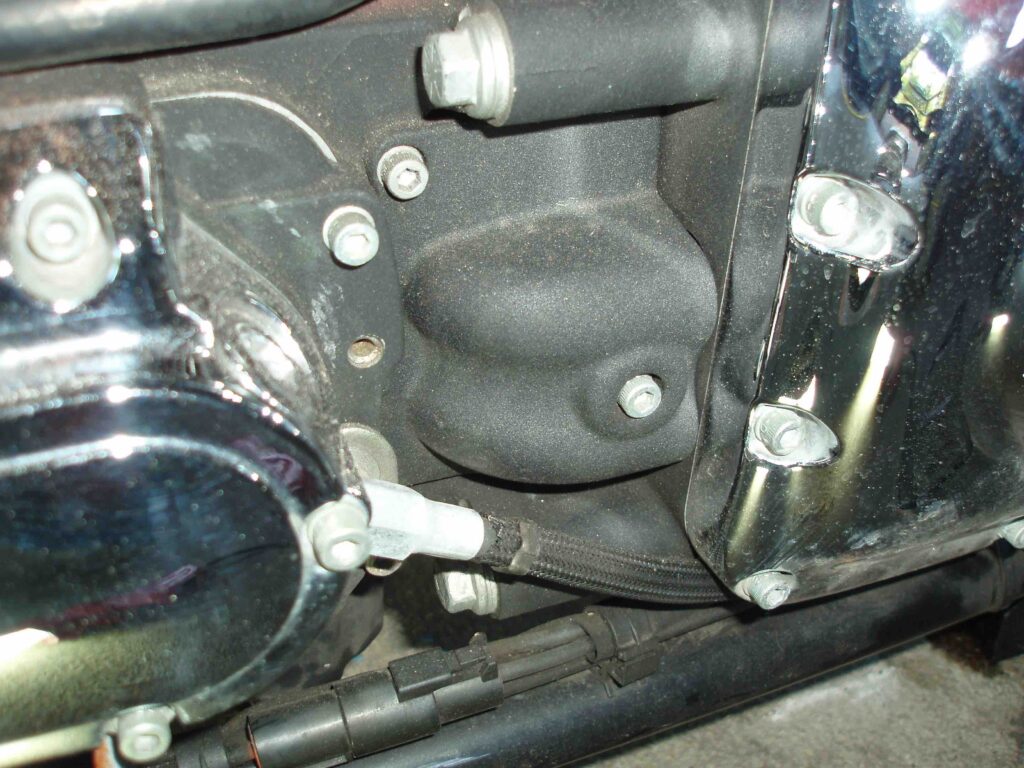
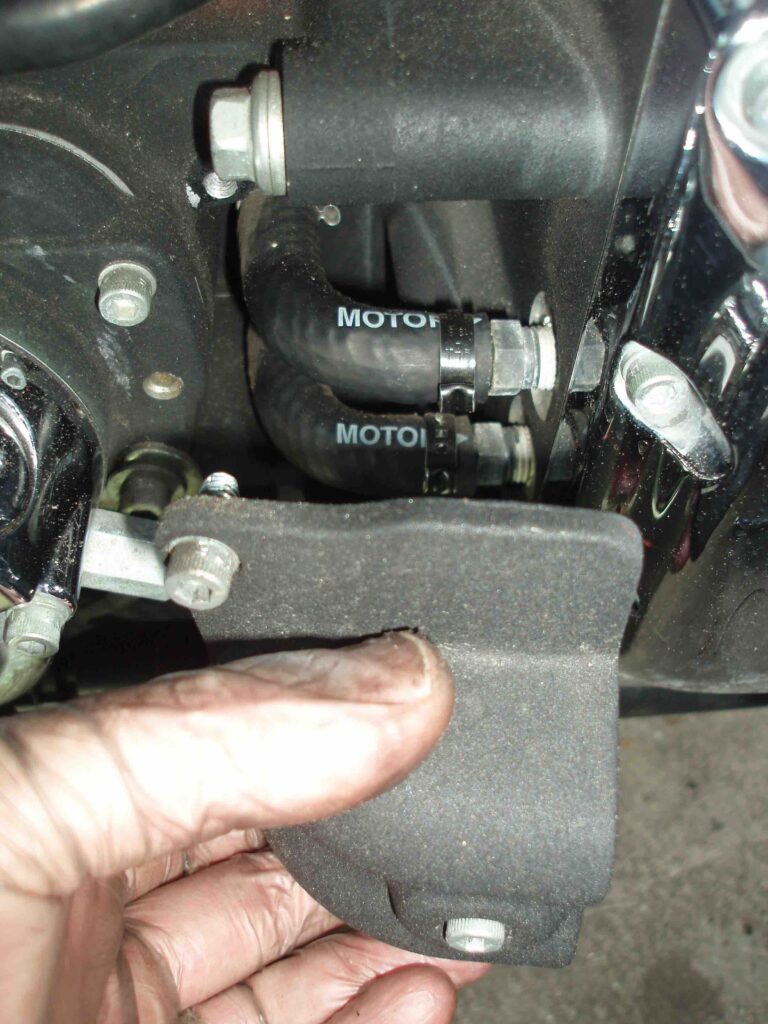
The position of the hose clamps would make a pair of fencing pliers handy, but I don’t have that tool, so I’ll have to figure out another technique for removing the clamps. At this point, my back told me that oil related tasks could wait until next time.
Cheers!
Howard,
When in doubt, and if budget allows after other engine parts have been purchased, replace hoses and their clamps; especially those that are concealed or difficult to access without removing major parts .
The little things become bigger pains after you’ve reassembled the bike.
Absolutely! I certainly won’t be reusing any clamps or hoses that get removed in the course of disassembly. I agree, if it’s in an awkward location, replace while it’s accessible. Thanks for the words of wisdom.